The following tutorial will explain how to add a floating live chat window to your RealBird listing presentation. Using the live chat functionality, you can turn your single property website into a "virtual open house" and connect with your visitors real-time.
This example uses
Purechat for the live chat functionality, but you can add other widget codes to this section of your listing website. Several chat plugins are available, some for free others for a fee - search for " online chat tools" with Google or see http://www.capterra.com/live-chat-software.
Note please that RealBird cannot guarantee that any of these chat tools will be compatible with the RealBird service; nor can we provide support for a third party service.1. Create a Purechat account by going to www.purechat.com and following their setup process.
2. Login to your account and get the purechat widget code. It is not the purpose of this tutorial to explain the capabilities of Purechat, we recommend that you familiarize yourself with this service in order to derive maximum benefits.
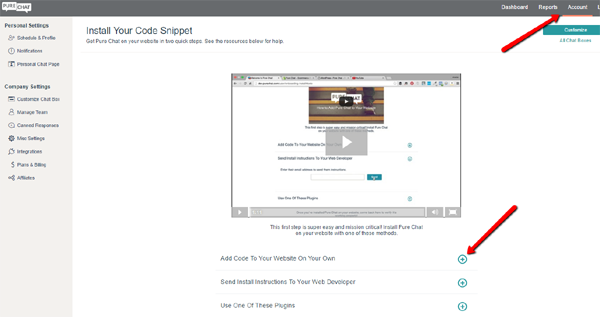
In the purechat area click on the
My account, then click the + sign for on "AddCode to website on your own" :
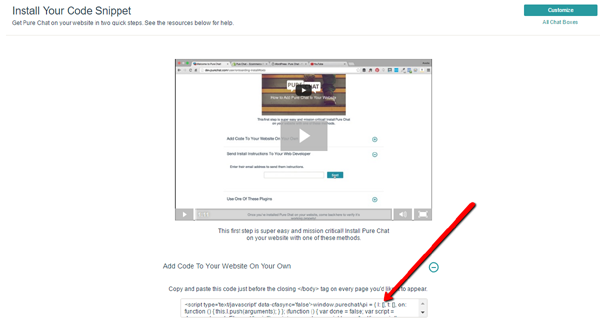
This will give you access to the chat embed code, select all of it (CTRL-A) and then do a Copy (CTRL-C):
3. Log in to your RealBird account. On the blue navigation bar click on "
Listing Marketing". You can either add the chat widget to selected listings (3.2 below) or you can add it once for all your listings (3.1 below).
3.1 To add the chat box to all your listings or to all your new listings that you enter henceforth:
3.1.1 Click on "
Settings":
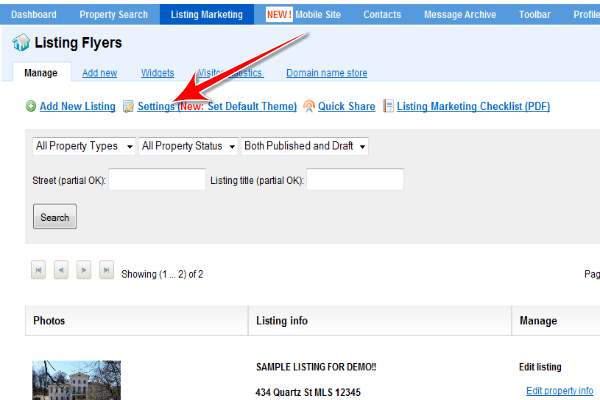
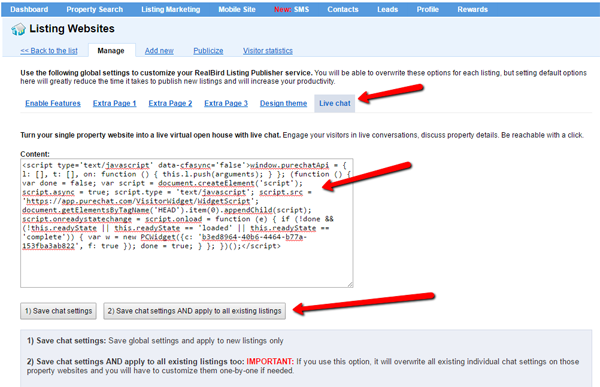
3.1.2 Then click on "
Live Chat":

3.1.3 Now paste the purechat widget code into the entry box using CTRL-V, then click one of the 2 "Save" buttons below, depending on if you wish to add the chatbox to all new listings only, or to all your listings:
3.2 To add the chatbox to a
particular listing only, one at a time, follow these steps:
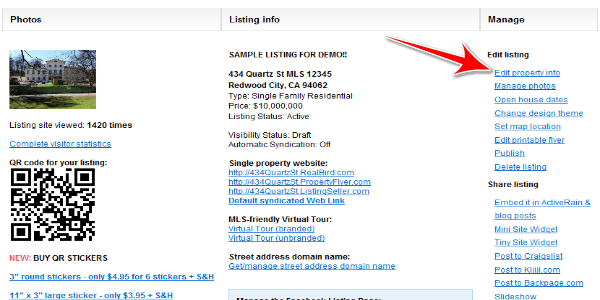
3.2.1 Under "
Listing Marketing" in your member area find the listing you want to add the chat box to, then click
Edit Property Info for that listing:
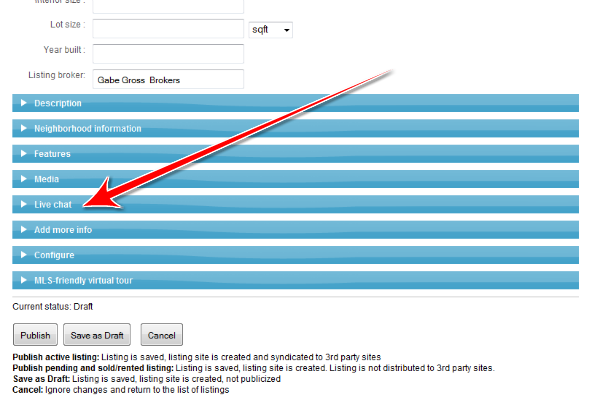
3.2.2 Scroll down to the "
Live Chat" blue tab and click on it; it will open the entry box:
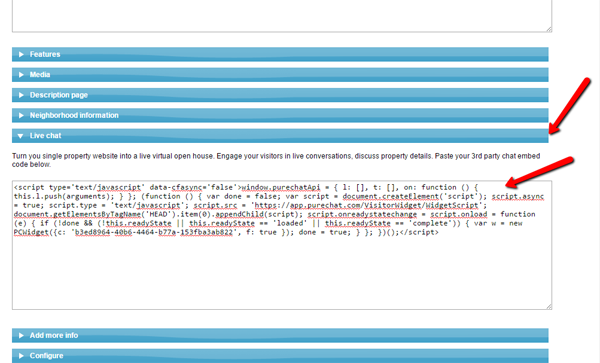
3.2.3 Paste the widget code int he entry box with CTRL-V and select the "Floating chat box" check box if you wish that users can drag the chat box around. If you want to position the chatbox in a fixed position (bottom right side of single property website) then leave this check box unchecked. Then click "Save as Draft" or "Publish", as appropriate.
4. Take a look at your property website to make sure that the chatbox installation has been successful.
 Uploading ....