The following tutorial will show the basic steps required to post and publish a listing via RealBird. More advanced techniques and video tutorials are linked at the end of this article.
The steps
- Login to RealBird
- Go to the "Listing Marketing" section
- Add a new listing
- Uploading and managing photos
- Preview the listing website that you created
- Auto-syndicate your listing to major classified search portals
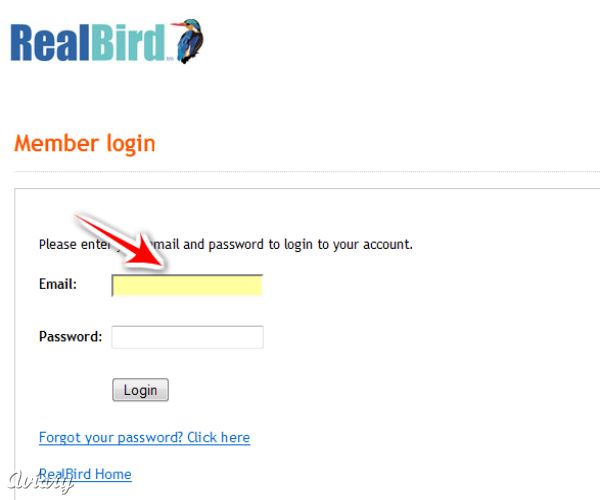
Login to RealBird
- Go to www.realbird.com
- Click on "Member login" located on the top right hand side of the home page
- Enter your email and password and click the "Login" button
Go to the Listing Marketing section
-
On the blue horizontal navigation bar click on "Listing Marketing", then "Add New Property"
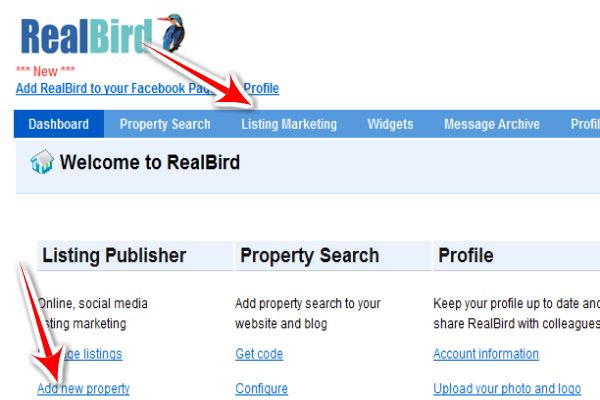
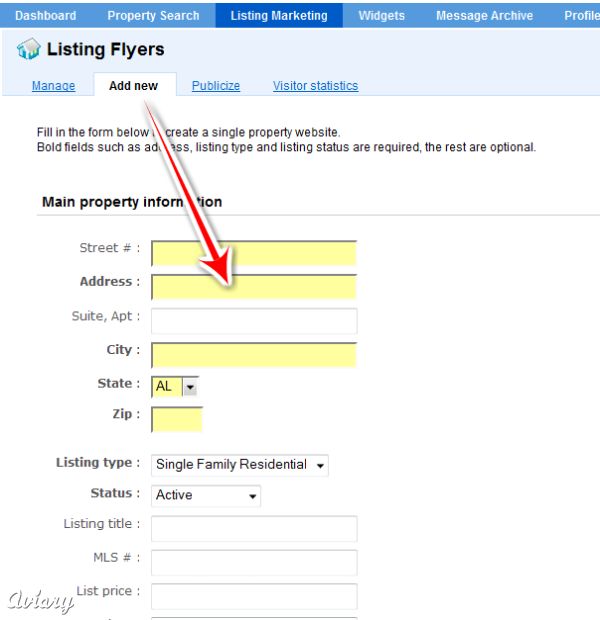
Add a new listing
- Click "Add New Listing" This will bring up the Listing Editor with the first section open (General Information).
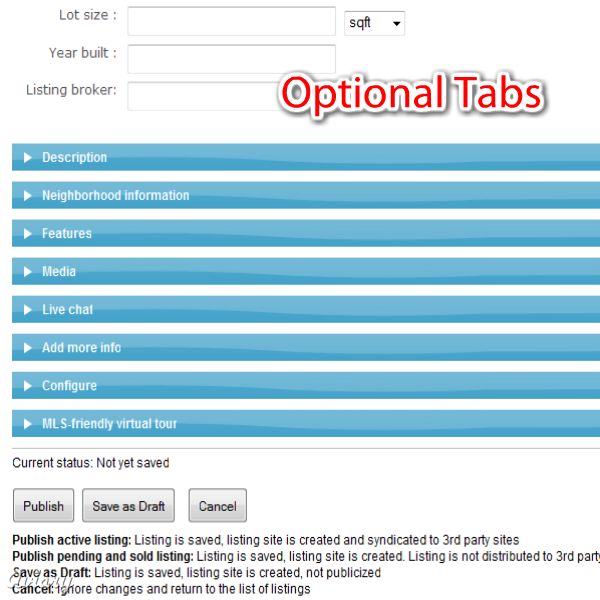
Note: that if you scroll down you will see the other sections, which are optional. Sections will become visible in your single property website if you add information to them, otherwise they will not show.
- Enter all pertinent information in the "General Information" section.
Note: There is no need to use $ sign for the price, just enter the digits. No fractional number required either, just use decimals. For example for ¼ acre enter 0.25
-
We recommend that after you are done with filling out the first section scroll down and click "Save as Draft". You
could immediately fill out the other sections but if something happens
to your network, or you take some time to do something else and your session times out you would lose the data entered. If the listing is successfully saved you will get a confirmation message.
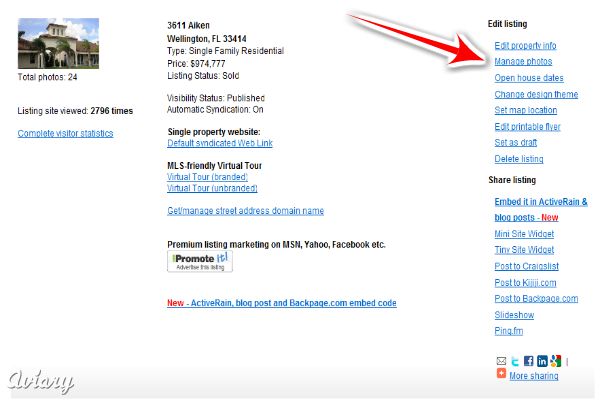
Uploading and managing photos
- On the blue horizontal navigation bar click on "Listing Marketing". You will see your list of listings. There are 3 columns: Photos, Listing info, Manage
- To upload photos click "Manage photos" in the right hand side column under "Manage".
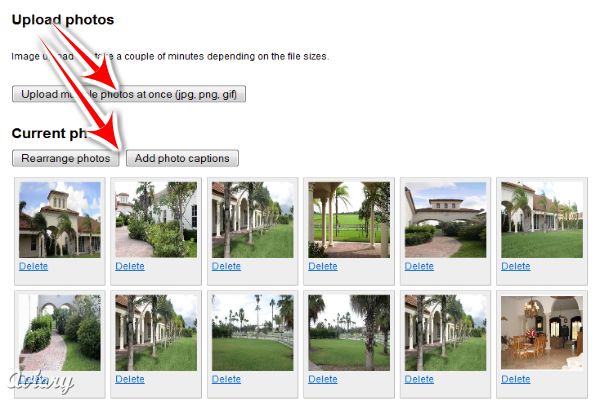
- You may upload multiple photos at once, by clicking the "Upload multiple photos at once" button
which will bring up the file browser.
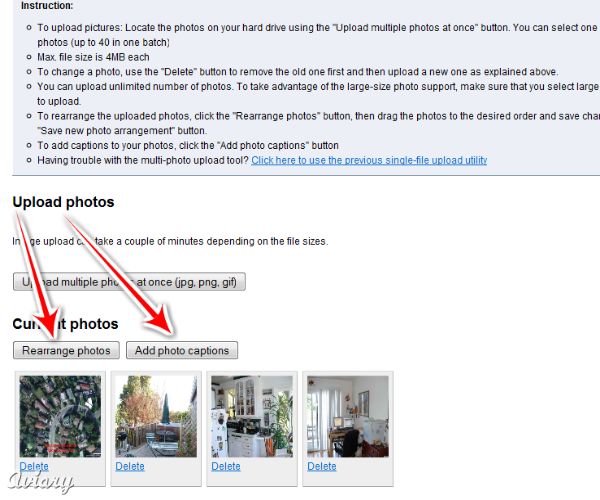
- Select the photos to upload by
holding the SHIFT or CTRL key down while clicking on the photo files,
then click Open. This will result in the files being uploaded to the RealBird server, and you will see the progress bar as this happens. The maximum file size that can be uploaded is 4MB per photo.
- To rearrange the order of the photos click on the "Rearrange photos" button. It is located on the same "Manage photos" section.
- Drag the photos into the desired positions and save changes
- To add captions to the photos click the "Add photo captions" button
and then type in a short caption corresponding to each photo.
Preview the listing website that you've created
- On the blue horizontal navigation bar click on "Listing Marketing". You will see your list of listings.
- Click on "Default Syndicated Web Link" to see the single property website
- At this point, you have just created a bare-bones listing website. You may add more tabs, such as for Features, Description, Neighborhood, Video and more by going back to the listing editor via the "Edit property info" link under the "Manage" section of the listings page

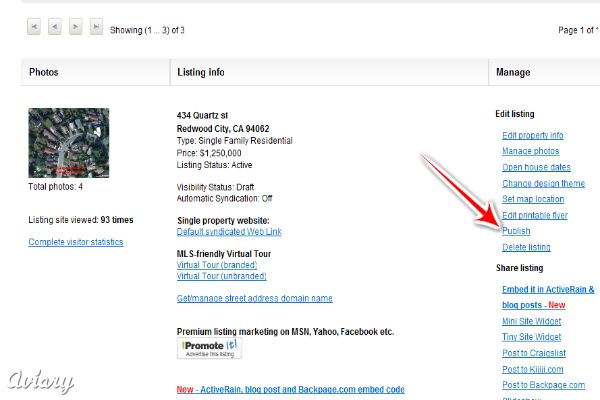
Auto-syndicate your listing to major classified search portals
- Click either the "Publish" button at the bottom of the listing editor form or the "Publish" link corresponding to that listing on the "Listing Marketing" page. Once the listing is set to published status, our daily exporter will include your listing and automatically syndicate it to major classified search portals.
Learn more
Creating a full featured single property website with RealBird (video tutorial)
More Listing Publisher tutorials
 Uploading ....